Shopify
Overview
The setup takes approximately 10 minutes and has three parts:
- Create, configure, and install an app through the Shopify Dev Dashboard.
- Allow the app to access protected order and customer data through the Shopify Partner Dashboard.
- Add the app credentials to ShipScience.
Before you begin:
You need access to a Shopify account that owns or manages the store you want to connect. Use the same Shopify login throughout the setup.
Step 1: Create and install the app — in the Dev Dashboard (dev.shopify.com)
Step 2: Allow the app to access your order data — in the Partner Dashboard (partners.shopify.com)
Step 3: Add the credentials to ShipScience
Step 1: Create and install the app in your Shopify store
1. Go to the Shopify Developer Dashboard (URL: dev.shopify.com/dashboard)
2. Sign in with your Shopify account — the same login that has access to (owns or manages) the store you want to connect.
3. Click Create app (top right).
4. In the Start from Dev Dashboard form, enter a name for your app (e.g. ShipScience Connector) and click Create.
5. In the Webhooks API version dropdown, select 2025-10 — this is the API version ShipScience uses. (Selecting a different version can cause webhook data to arrive in a format ShipScience doesn't expect.)
6. In the Access section, click Select scopes. In the popup, find and check these scopes, then confirm:
- read_orders
- read_fulfillments
- read_locations
- read_customers
7. At the bottom of the page, click Release. In the popup you can name the version (e.g. V1, optional). Click Release.
8. You'll land on your app's Versions page. Go to Settings in the nav bar and copy the Client ID and Secret. Save them somewhere safe - you'll need them in Part C, and treat the Secret like a password.
9. In the nav bar, click your app's name (e.g. ShipScience Connector). In the Installs section, click Install App. A new browser tab opens with a list of your Shopify stores — click the store you want to connect.
10. You'll be redirected to your store's Install app page. Click Install.
Step 2: Allow the app to access your order data
Order and fulfillment data includes customer information that Shopify classifies as protected customer data, so you must grant the app access to it. This part is done in the Partner Dashboard (a different site from Step 1).
1. Go to Shopify Partners (URL: https://www.shopify.com/partners) and log in.
2. Select the same Shopify store you installed the app in.
3. In the left nav menu, click App Distribution.
4. In the list of apps, find the one you created (e.g. ShipScience Connector) and click its name.
5. In the left nav menu, click API access requests.
6. In the Protected customer data access section, click Request Access.
7. Under Protected customer data, click Select, check Store Management, scroll down, and click the green Save button.
8. In the Protected customer fields section, do the same for each of Name, Email, Phone, and Address:
- Click Select
- Check Store Management
- Click the green Save button
9. When done correctly, "Reason: Store management" appears under Protected customer data and under Name, Email, Phone, and Address.
Step 3: Add the credentials to ShipScience
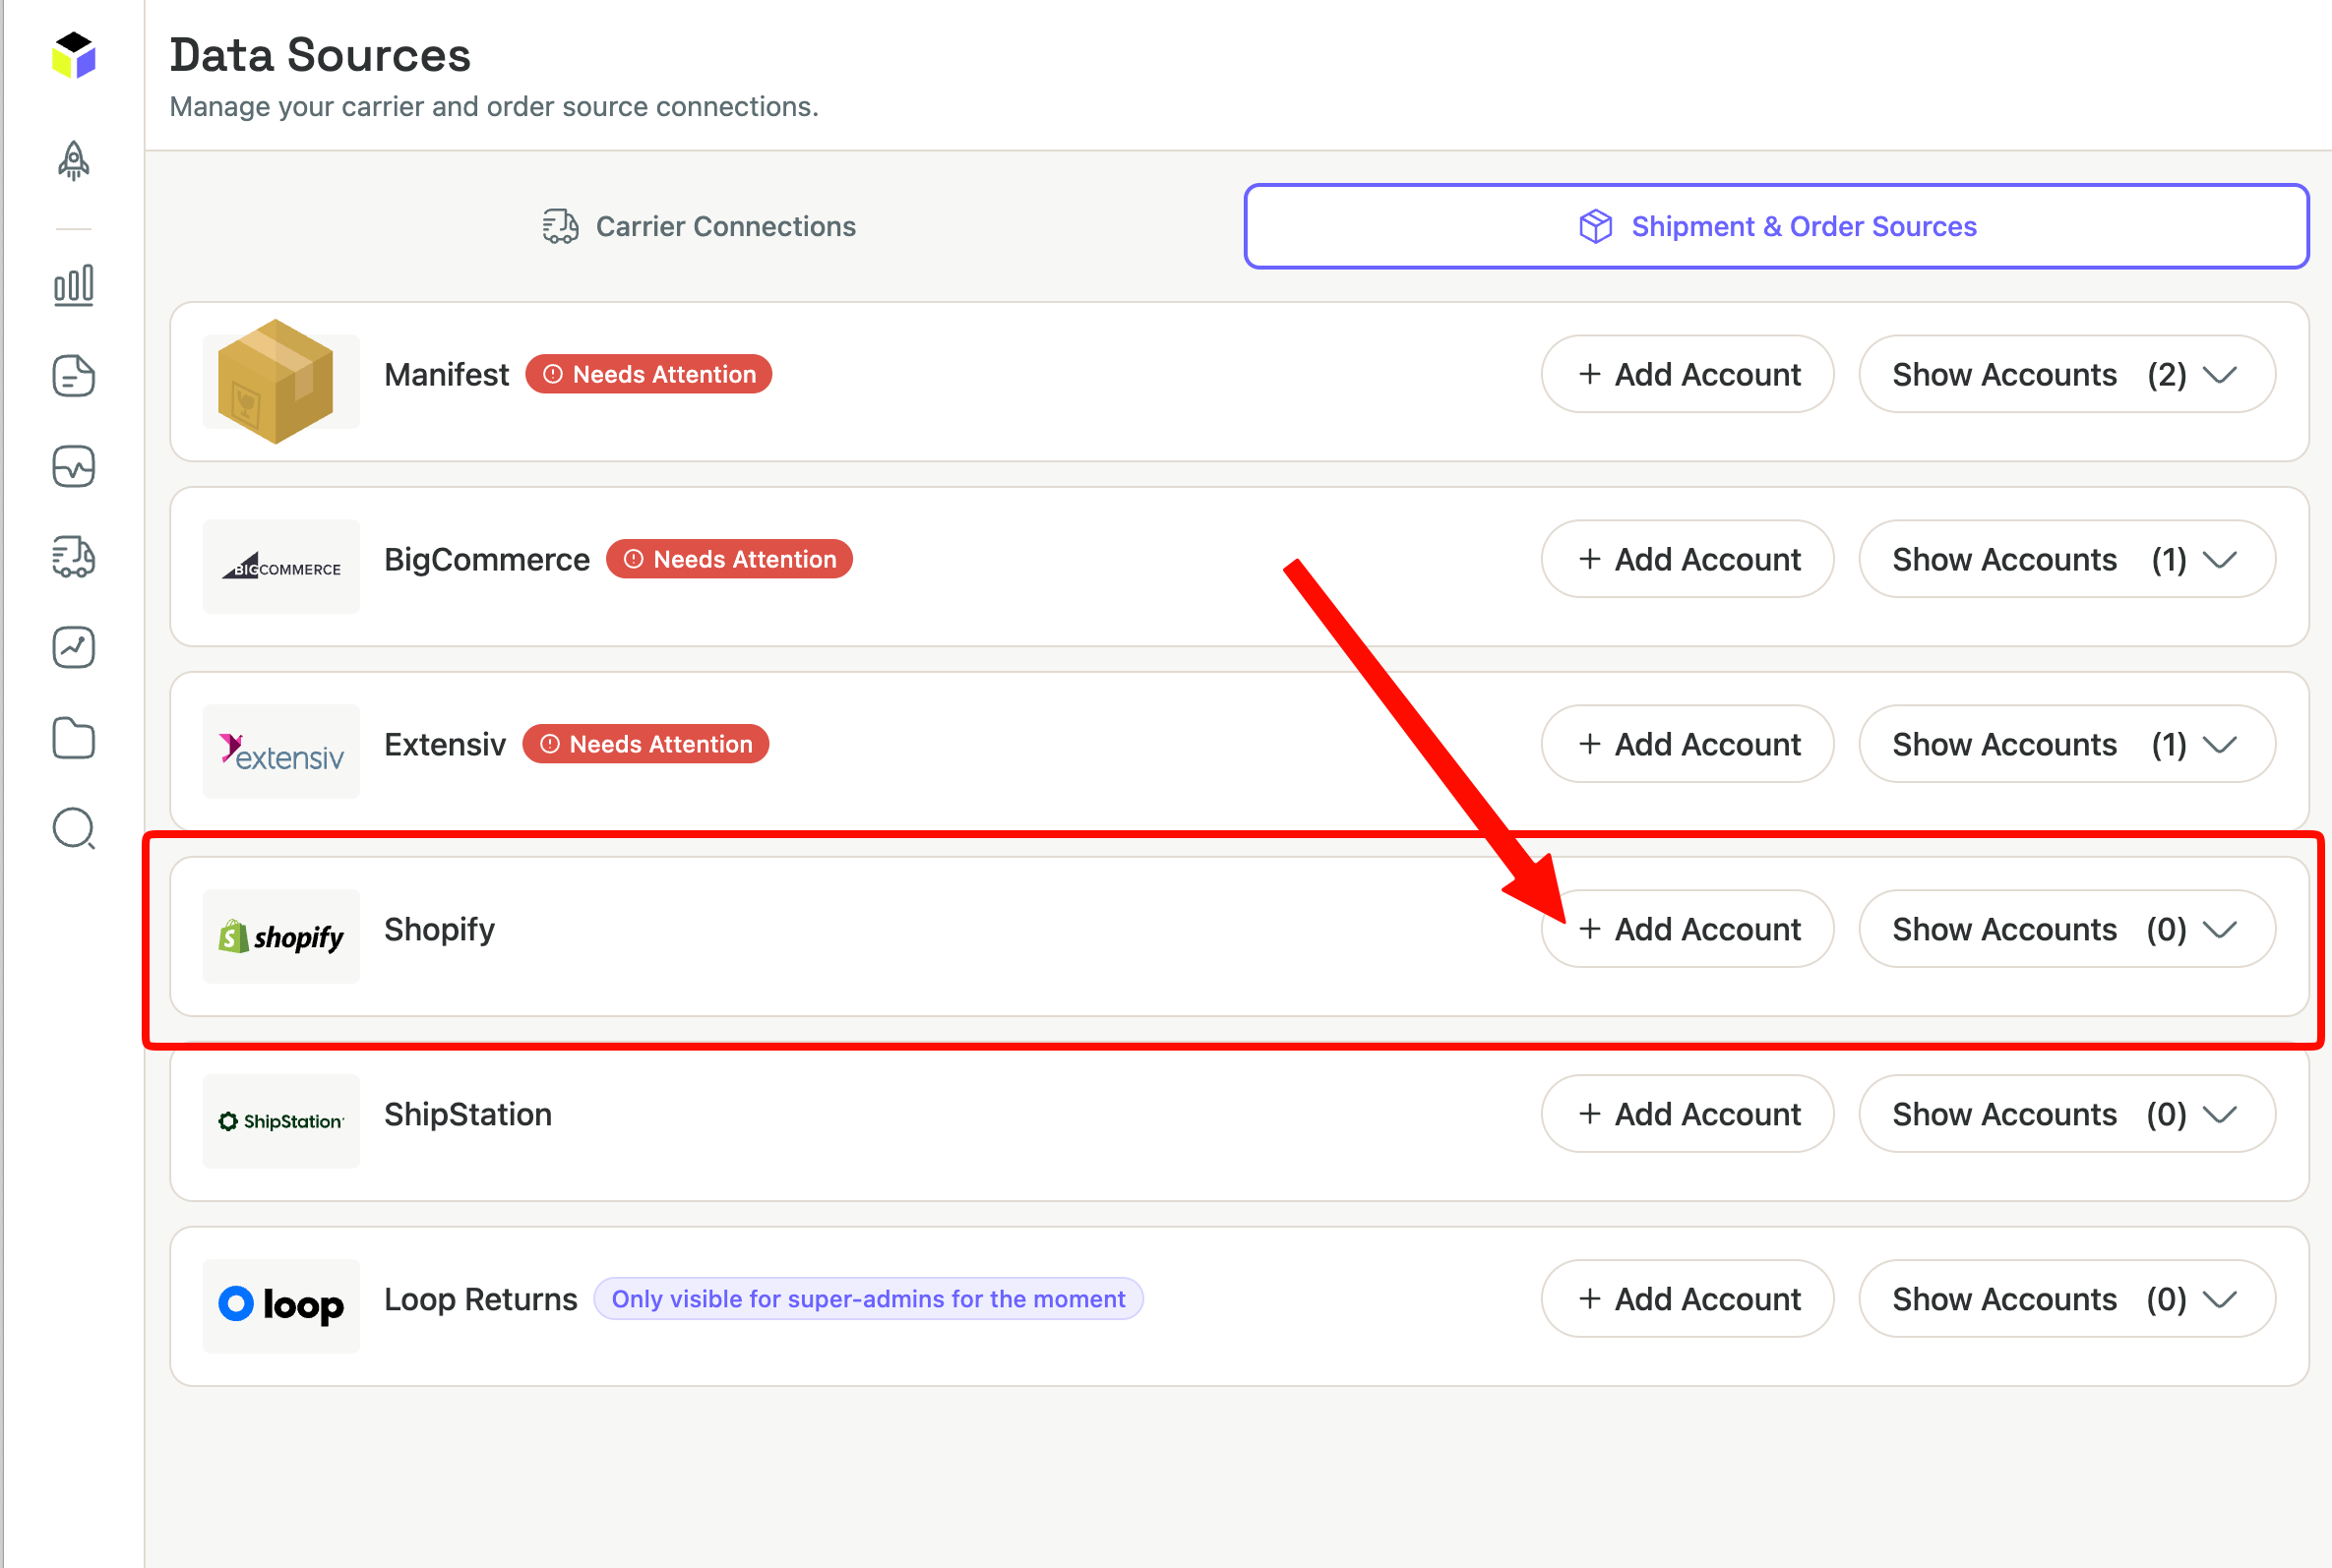
1. Go to Data Sources in the ShipScience web application (URL: app.shipscience.com/my_data/data_sources)
2. At the top of the page, click Shipment & Order Sources.
3. In the Shopify row, click + Add Account.
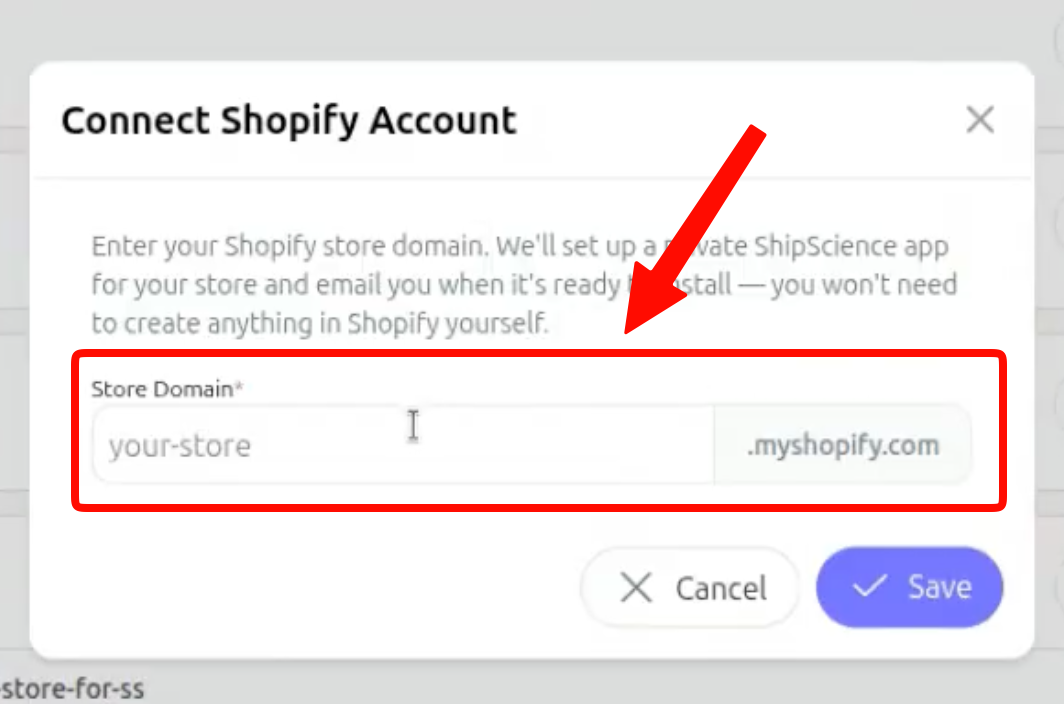
4. Fill in the form:
- Client ID: the Client ID from Step 1, part 8
- Client Secret: the Secret from Step 1, part 8
- Store Domain: your store's subdomain only, i.e. the part before .
myshopify.com(formy-store.myshopify.com, entermy-store) - Click Save.
ShipScience validates the credentials, confirms the required scopes, and sets up the webhooks it needs.
Confirm it worked: the Shopify source should now show a Connected status in your Data Sources. If it shows an error instead, contact us for support.
Updated about 1 month ago